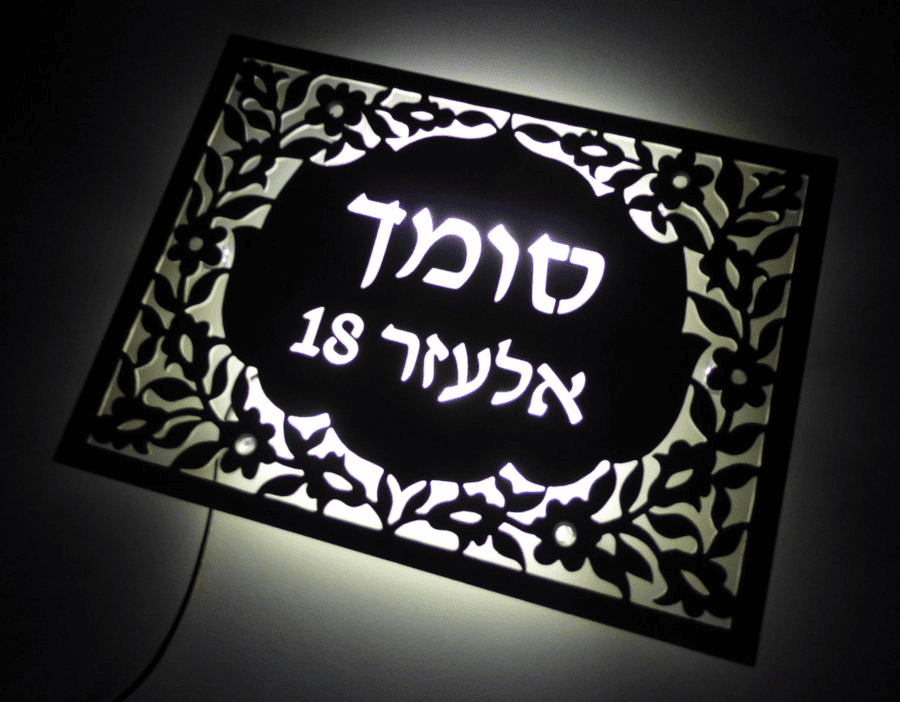
Please note: When mounting a metal sign it is recommended to wear latex gloves and be careful of any scratch!
Sign Mounting with Glue
This Sign Mounting option is available when ordering all Ceramic Signs and Metal Plaques models
Glueing on doors:
In general, it is not recommended to glue a metal plaque or ceramic sign on the door, or a wall, because in the future there is a possibility that you will not be able to detach it without ruining both the sign and/or the mounting surface. However, if you do decide to mount your sign by gluing, you may want to use a good quality double-sided adhesive (see below), which you can order already attached on the back of your sign/plaque during the order process. You can also use (in Israel) the “Super 7” silicone glue (see instructions below).
Glueing on walls and fences:
For Sign Mounting surfaces made of wood, metal, plaster (painted or not) or flat stone, it is recommended to glue metal plaques or ceramic signs using “Super 7” glue or any acrylic tile adhesive, in any case after you have thoroughly cleaned and dried the surface.
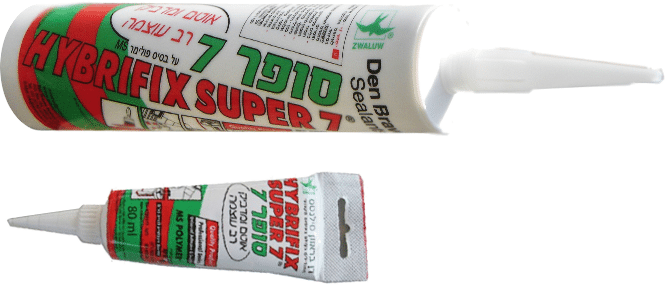
Gluing metal plaques or ceramic signs with super glue 7:
- Place the glue on the back of the sign in a generous amount, but not too much so that the material does not slip off the sides when you press the sign on the mounting surface.
- Press the sign on the wall until you feel there is nothing more to press or until you see glue starting to slide from the sides.
- For a few seconds after pressing, you can still move the plaque/sign, but only of a few millimeters to align it.
- Do not touch for 12 hours until the glue is dry.
Gluing ceramic signs on a stone wall:
For this purpose you can use “Super 7” glue (the White type), acrylic tile adhesive, or white concrete (composition: 1 part cement + 2 part sea sand). In the last case it is necessary to supply a a support for the tile from below using a wooden plank until the concrete is dried. This work would be better done by a construction person.
Sign Mounting with Screws
This Sign Mounting option is available when ordering all Metal plaques and Ceramic door signs (except Door Painted Tiles).
Included in your package you will receive appropriate screws, according to the surface type you selected and mounting instructions in Hebrew and English.
In case of ceramic sign the screws are in silver color. In case of metal plaques screw material and/or color match the material/color of the plaque.
Door Sign Mounting instructions for metal plaques and ceramic signs:
- Position the tile in place on the door.
- Using a pencil, make two marks on the door through the holes of the sign/plaque, then remove it.
- Wooden doors: insert a small screw into the door at each pencil mark, tap it lightly with a hammer, screw it half way down, and then unscrew it.
Metal doors (as the Israeli “Pladelet” type): drill a small hole into the pencil mark using a 3 mm (1/8”) High Speed (HS) steel bit. - Put the sign/plaque back in place on the door and screw the screws into the holes, through the sign/plaque.
Caution: avoid over tightening the screws, as the tile may break! - To remove the sign/plaque, unscrew the screws and fill the holes on the door.
Wall and fence Sign Mounting instructions for metal plaques only:
Besides glue, metal plaques can be mounted with screws on wooden or plastic surfaces (like outdoor fences) and on any type of wall: plaster or stone.
If you chose “screws” as the method of assembling the sign, we drill two or more holes according to the size and design of the plaque. You will be able to see the location of the holes in the draft we send before making the sign.
If you have marked “wall” as mounting location in your order, you will also receive wall plugs suitable for the supplied screws.
Leaving a gap between wall and plaque – an other option in the order form: Small nuts are attached to the back of the plaque so that the gap created gives the sign a 3D effect using the shadow created on the wall.
Screw caps (Mirror screws) for metal plaques only:
The cap, in the shape of a smooth dome, covers and hides the screw head
For Led Sign Mounting, see:
LED Strip Light Addition
Cleaning ceramic signs & metal plaques
Clean using a soft, damp rag. You can use soap and water only.
For polishing metal plaques only you may use commercial Brass cleaners like Brasso.
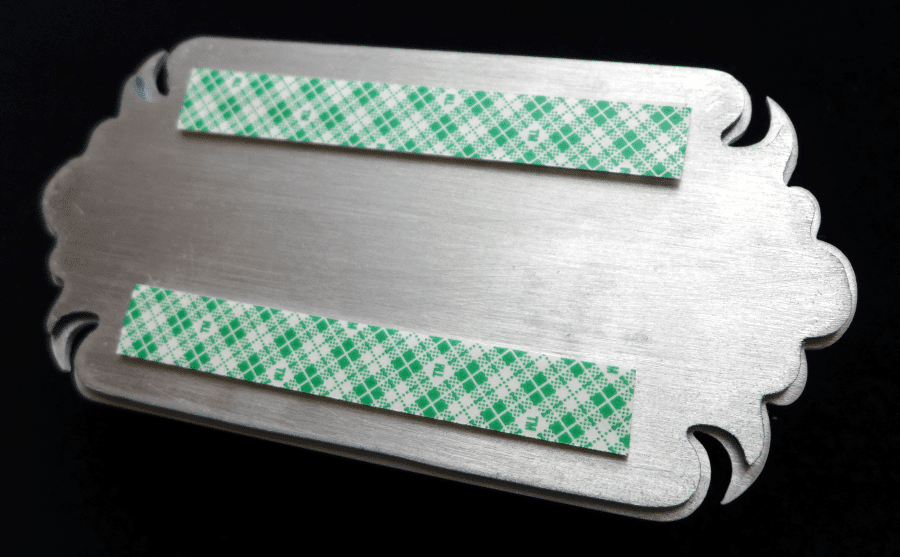
Double-sided tape
This mounting option is available when ordering all Ceramic Signs and Metal Plaques models
Mounting instructions:
- Clean and dry the mounting surface.
- With clean and dry hands: Peel the protective paper off the tape.
- Attach the plaque/sign to the surface and press through a clean paper sheet over the areas of the sign corresponding the placement of the tape. Be careful with ceramic signs as they may be broken when making excessive pressure.
Please note: We supply 3M Scotch tape, the best of its kind and we use at least 2.5 times the total length recommended by the manufacturer according to the plaque/sign weight. Please note that this tape is especially strong and you may experience difficulty when removing it in the future.
Magnets
Option to choose from:
This mounting option is available when ordering:
- Metal signs – All models up to a maximum size of 15/10 cm
- Ceramic door signs – All models up to a maximum size of 15/10 cm
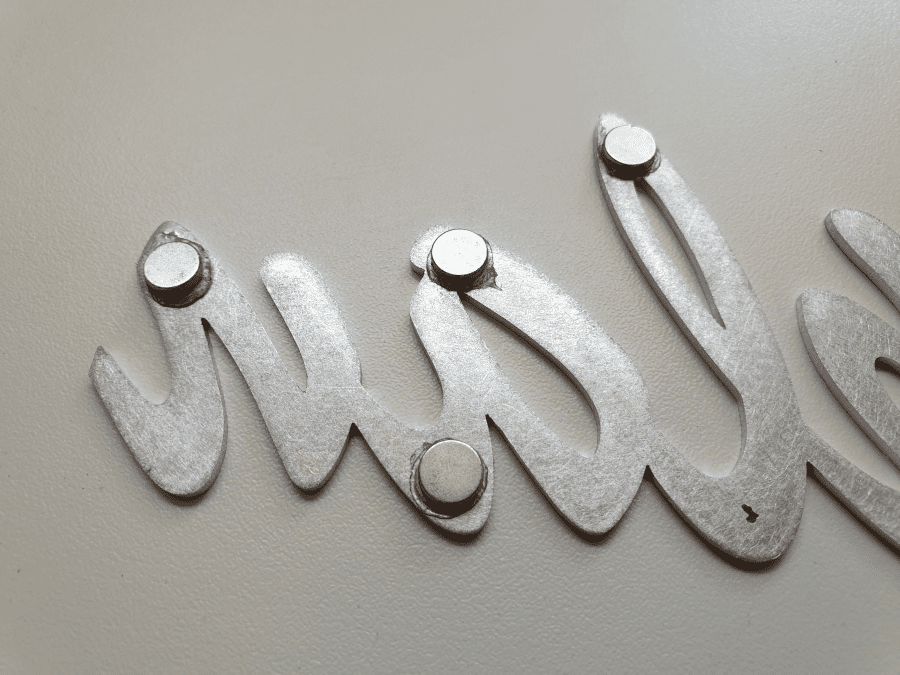
Sign Mounting with Magnets
If you select Magnets as mounting option, a number of strong magnets will be attached to the back of the plaque/sign.
A magnet mounting allows to remove the plaque/sign as easily as possible, without breaking it (as in gluing) and/or leaving marks on the door area.
Suspension
This mounting option is available when ordering all Metal Plaques models
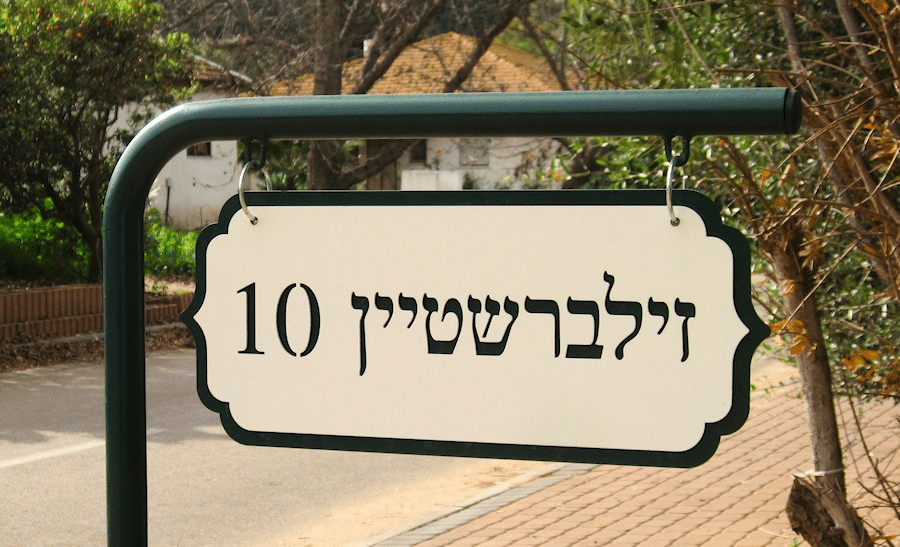
Metal signs can be ordered with holes on top corners for hanging purpose. We do not supply the chains, which can be easily purchased at any technical supply shop.
Jerusalem Stone Signs
You can mount a Jerusalem stone sign combining it into a wall building or attaching it on an existing wall using white cement (1 part) and sand (2 parts). For additional support of the heavy sign (about 14 lbs), you can make a niche in the wall at a depth of 2 cm or you can insert into the wall two bent screws to support the sign from its bottom part.
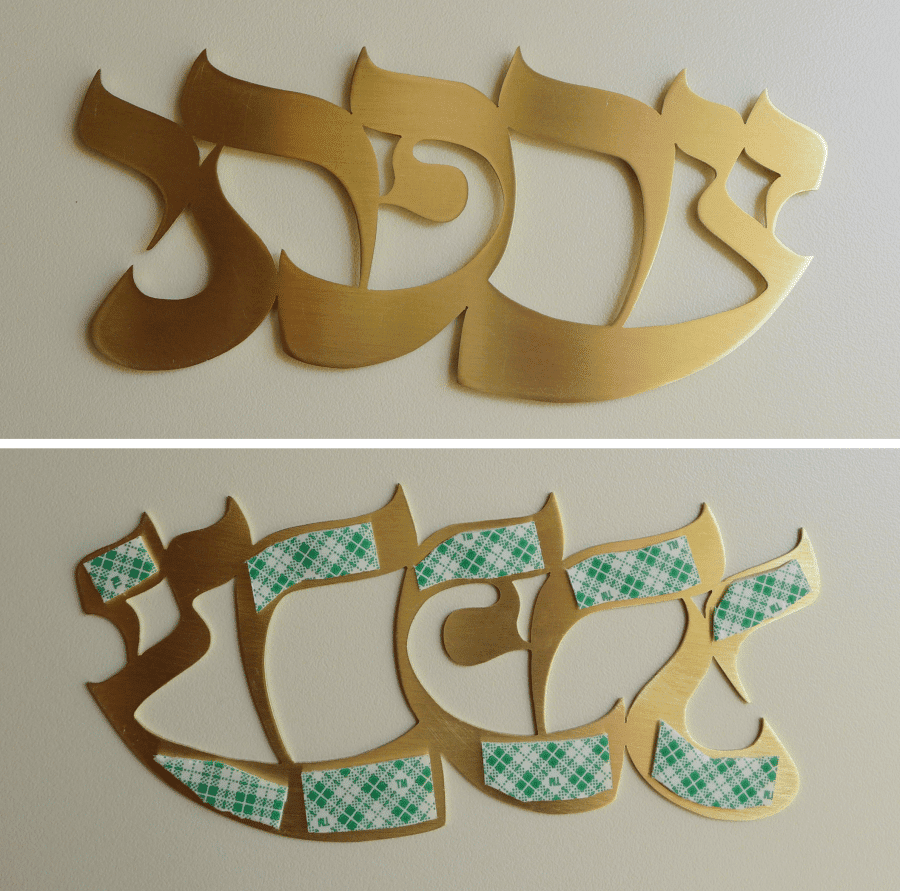
Mounting guidelines for metal letters
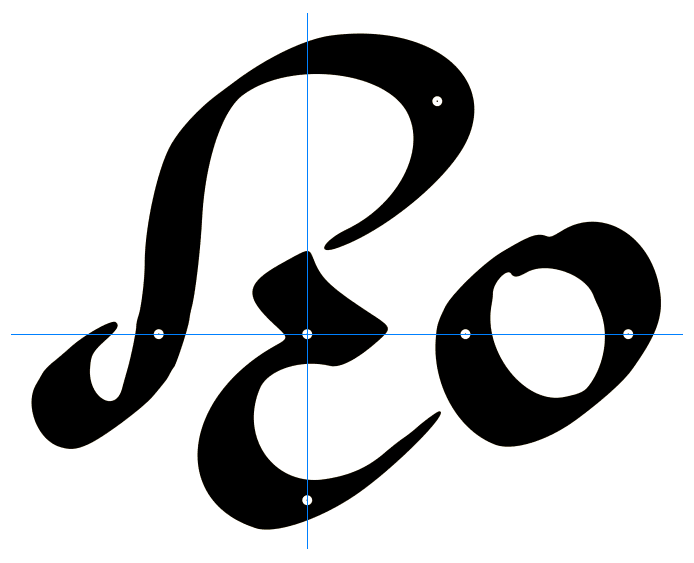
If you ordered metal letters, together with the proofyou will receive mounting guidelines that will allow you to mount letters in the correct orientation and position, both in case of gluing and screwing, as in the following example:
Ceramic tiles in cold areas:In locations where temperatures may drop below 32F, ceramic signs must be mounted in such a way to avoid the infiltration of rain water into the porous back side of the tile. |


