Order now and get your letters (in Israel) in a week!
|
Size options: |
|||
| Size | Height of letter Bet | Numbers’ height | |
| XS | 4 cm (1.6″) | 3.6 cm (1.8″) | |
| S | 6.4 cm (2.4″) | 5.8 cm (2.8″) | |
| M | 12.1 cm (4.2″) | 11 cm (4.6″) | |
| L | 18.7 cm (6.7″) | 17 cm (7.4″) | |


₪47.00 – ₪129.00
|
Size options: |
|||
| Size | Height of letter Bet | Numbers’ height | |
| XS | 4 cm (1.6″) | 3.6 cm (1.8″) | |
| S | 6.4 cm (2.4″) | 5.8 cm (2.8″) | |
| M | 12.1 cm (4.2″) | 11 cm (4.6″) | |
| L | 18.7 cm (6.7″) | 17 cm (7.4″) | |
4 Sizes: L, M, S, XS
4 Mounting options:
1) Plain, no holes, for glue mounting
2) Two holes & screws for wooden or metal door / fence (Not for size XS)
3) Two holes, screws and plugs for wall mounting (Not for size XS)
4) Double-sided adhesive Scotch 3M glued to the back of the Hebrew Bronze Letters (Not for size XS)
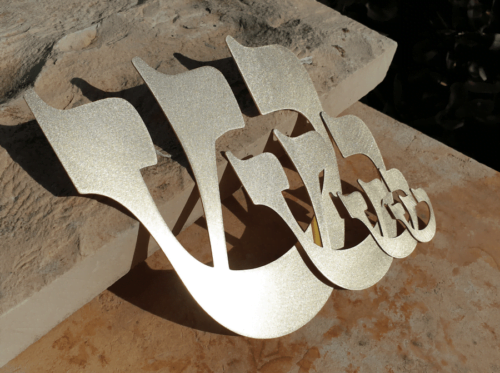
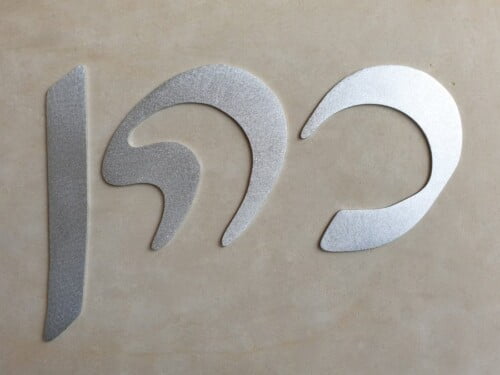
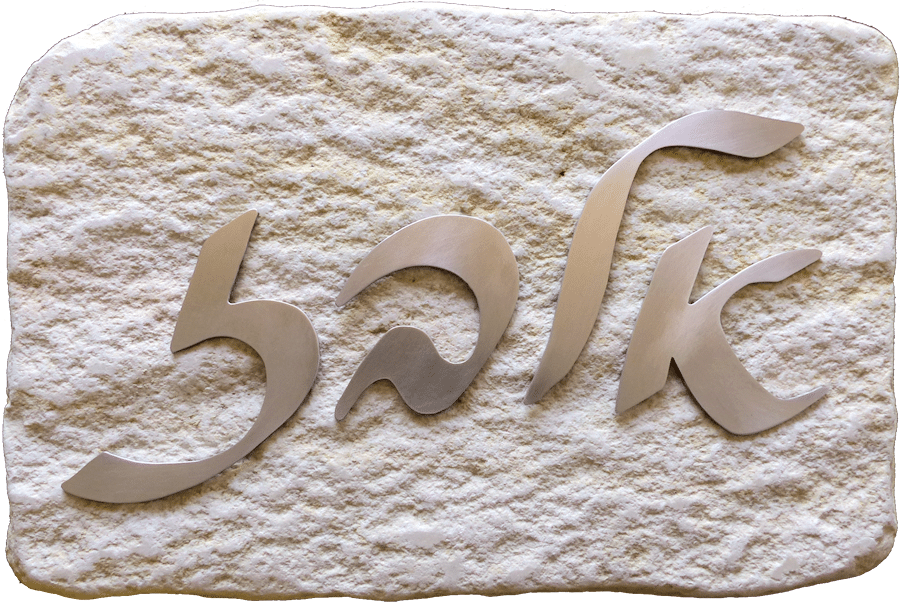
These Hebrew Bronze Letters are made of natural brass that has undergone a process of natural blackening through prolonged absorption with a special chemical. The resulting color is an uneven dark brown, as can be seen in the product photos.
If you are undecided send Ugo a picture of the place for assembly that includes dimensions. Please take a picture from the front – not from the side. We will prepare a computer simulation and then we will know what font size is most suitable for your project. Ugo’s WhatsApp: 050-5800120
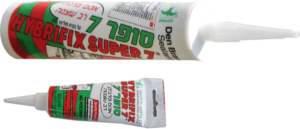
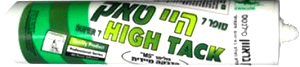
For gluing the Hebrew Bronze Letters we recommend using “Super 7” or “Super 7 Hi-Tack” silicone glue (stronger).
Gluing on stone:
In addition to silicone glue, marble glue can be used, which is an epoxy glue. In this case it is advisable to search for a professional with experience in this type of work.
Warning: Be careful that the screwdriver does not “escape” and scratch the letter!
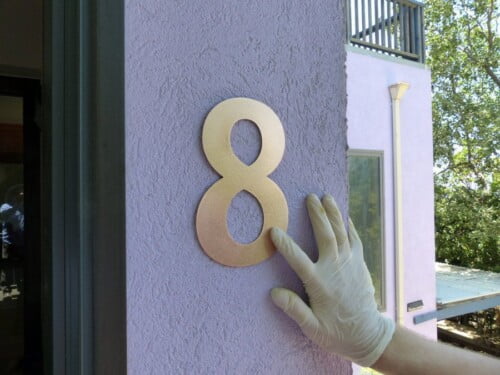
In addition, it is recommended to use latex gloves to avoid leaving fingerprints on the metal. In such case remove them with a little vinegar on a soft cloth.

On the back of the letters you can add nuts 1 cm in size and 5 mm thick. If you plan to add spacers, select “Two holes & screws” as mounting option when filling the order form.
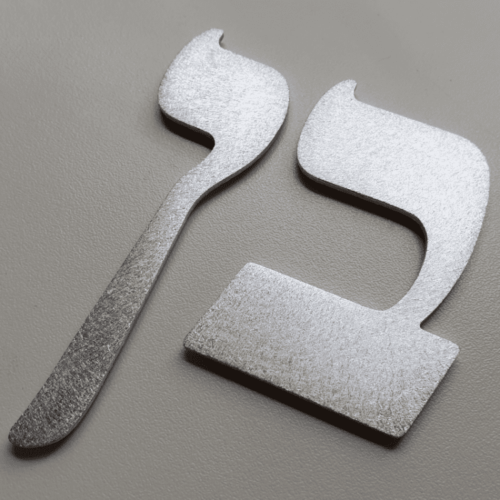
In one of the photos in this post you can see what is the recommended location for installing the rear nut on each letter and number.
To glue the nuts on the back of the letters it is recommended to use “Super 7” glue.
The nuts that will be mounted corresponding to the holes do not require gluing because the screw passes through them.
Note: Do not stick a nut too close to the edge of the letter, always leave a space of at least 5 mm.
Cutting metal letters: